What It's About

This is just a spot for me to put up new ideas, new creations, and little observations from my daily life.

Sunday, April 28, 2013

Bikini Cover-Up: Project & Tutorial


            While I was searching for the perfect cover-up to take with me to the Bahamas, I noticed that I’m either a cheapskate, or things are just overpriced.  While staring at one cover-up in particular, my mother-in-law says “This is just t-shirt fabric, I bet you could make one really cheap.”  Ding, ding, ding!!! Thanks for making my decision for me.  I 
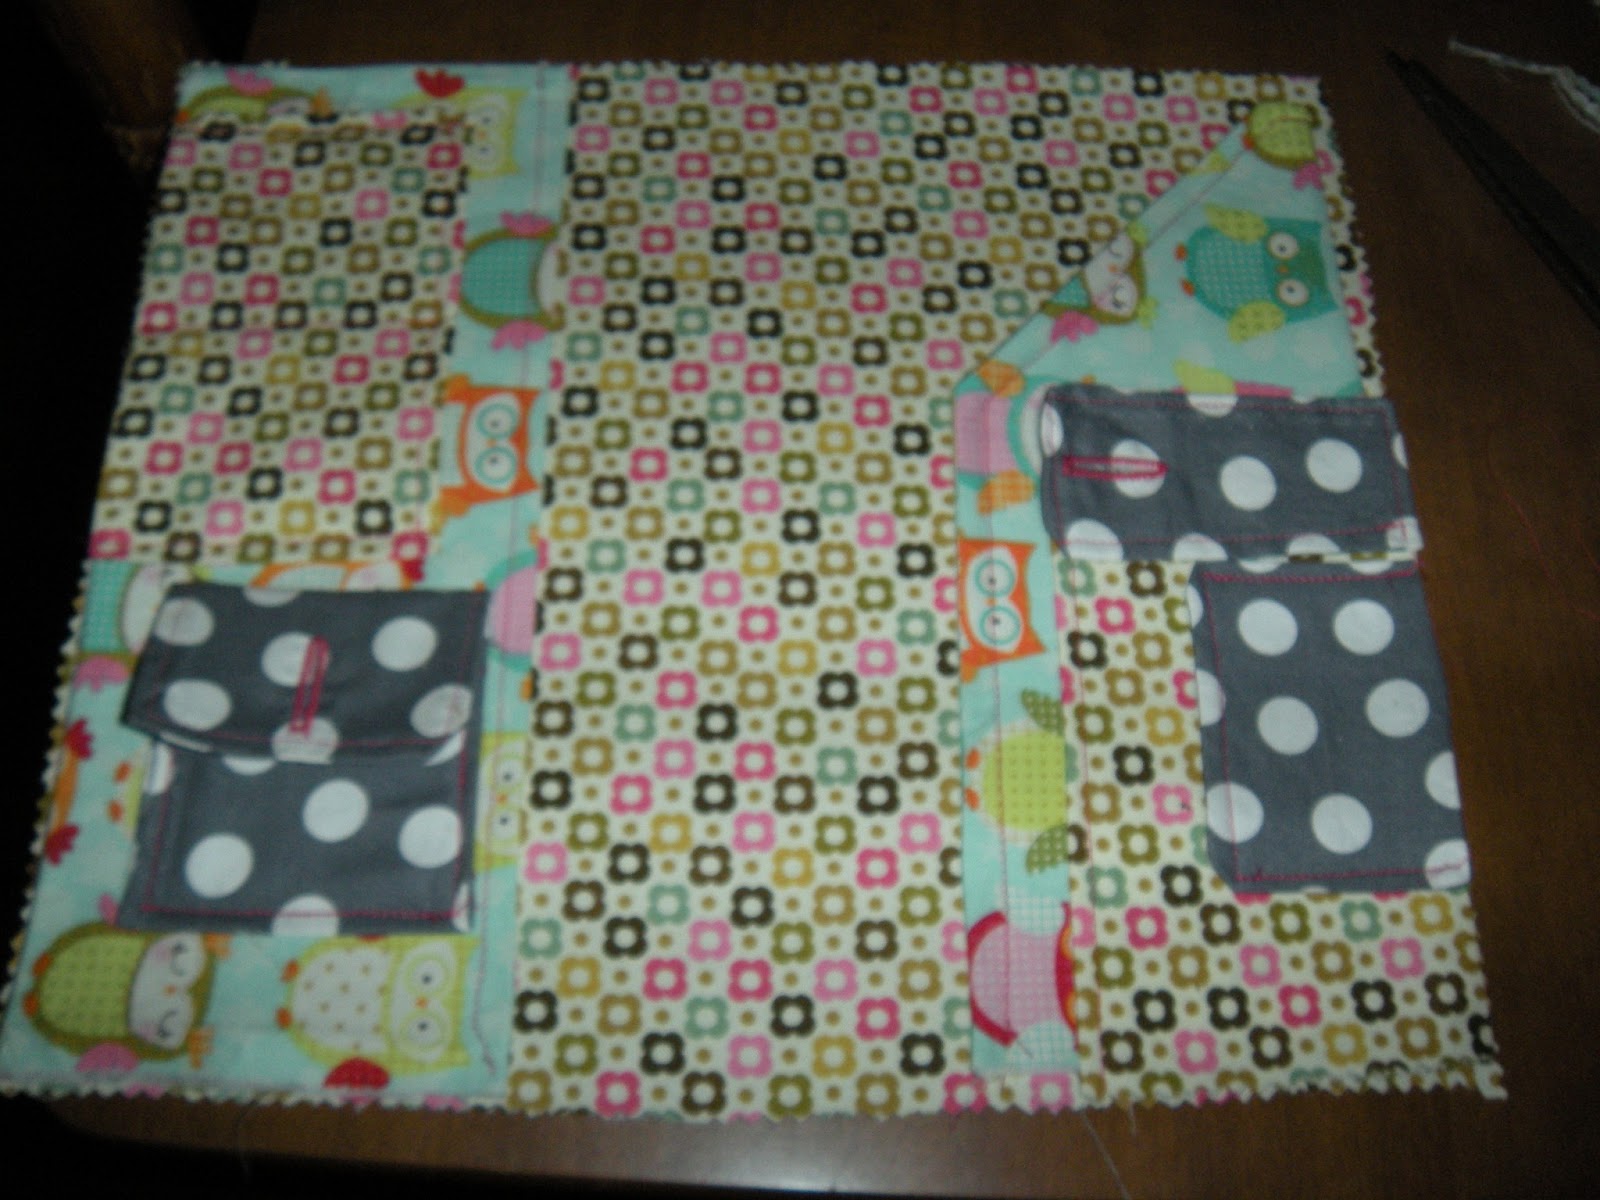
grabbed an XL shirt in a color that complimented my skin and set to work.  Below is the product.  Check out the tutorial to make your own.  I just love how it turned out.

            A little more info.  I didn’t want to use a ton of elastic to hold up the dress.  Elastic pinches and creates unattractive rolls even on a thin person.  Easy fix?  Use a little elastic for stability and make a tie-strap in the back just like  a bikini.  I did opt for a thicker tie just because I want the cover-up to be secure and stay in place.  Also, using an old t-shirt means you don’t have to worry about hemming the bottom edge of the dress, it’s already done for you.  I hope you enjoy this project!


Step 1:  Gather your supplies.  You will need a HUGE T-Shirt, scissors, a ruler, ½ inch elastic, 1 inch elastic, and matching or complimentary thread.  I was torn between two shirts.  Obviously I chose blue, so I decided to use bright green thread.

Step 2: Measure.  I grabbed a dress that fit me just how I wanted the cover-up to and used it as a guide.  Measure a seam allowance of half an inch on each side of your dress to ensure it fits. 

This dress is assembled in a top and bottom.  For the bottom piece, add an extra inch to the top of your measuring (this will make the “skirt”).

For the top, add a half an inch on each side and an extra inch and a half to the top for your seam allowances.  You will only use one piece of the top rectangle you cut for the bodice.

Step 3:  Cut your shirt.  Cut around all of the measurements you made.  You should have 2 skirt pieces (front & back of shirt) and 2 rectangles for the bodice (you only need one of these pieces). 

Cut a straight line under the armpit of the shirt, using the side you cut the skirt from.  Do this on both sides.  These will make the back straps.
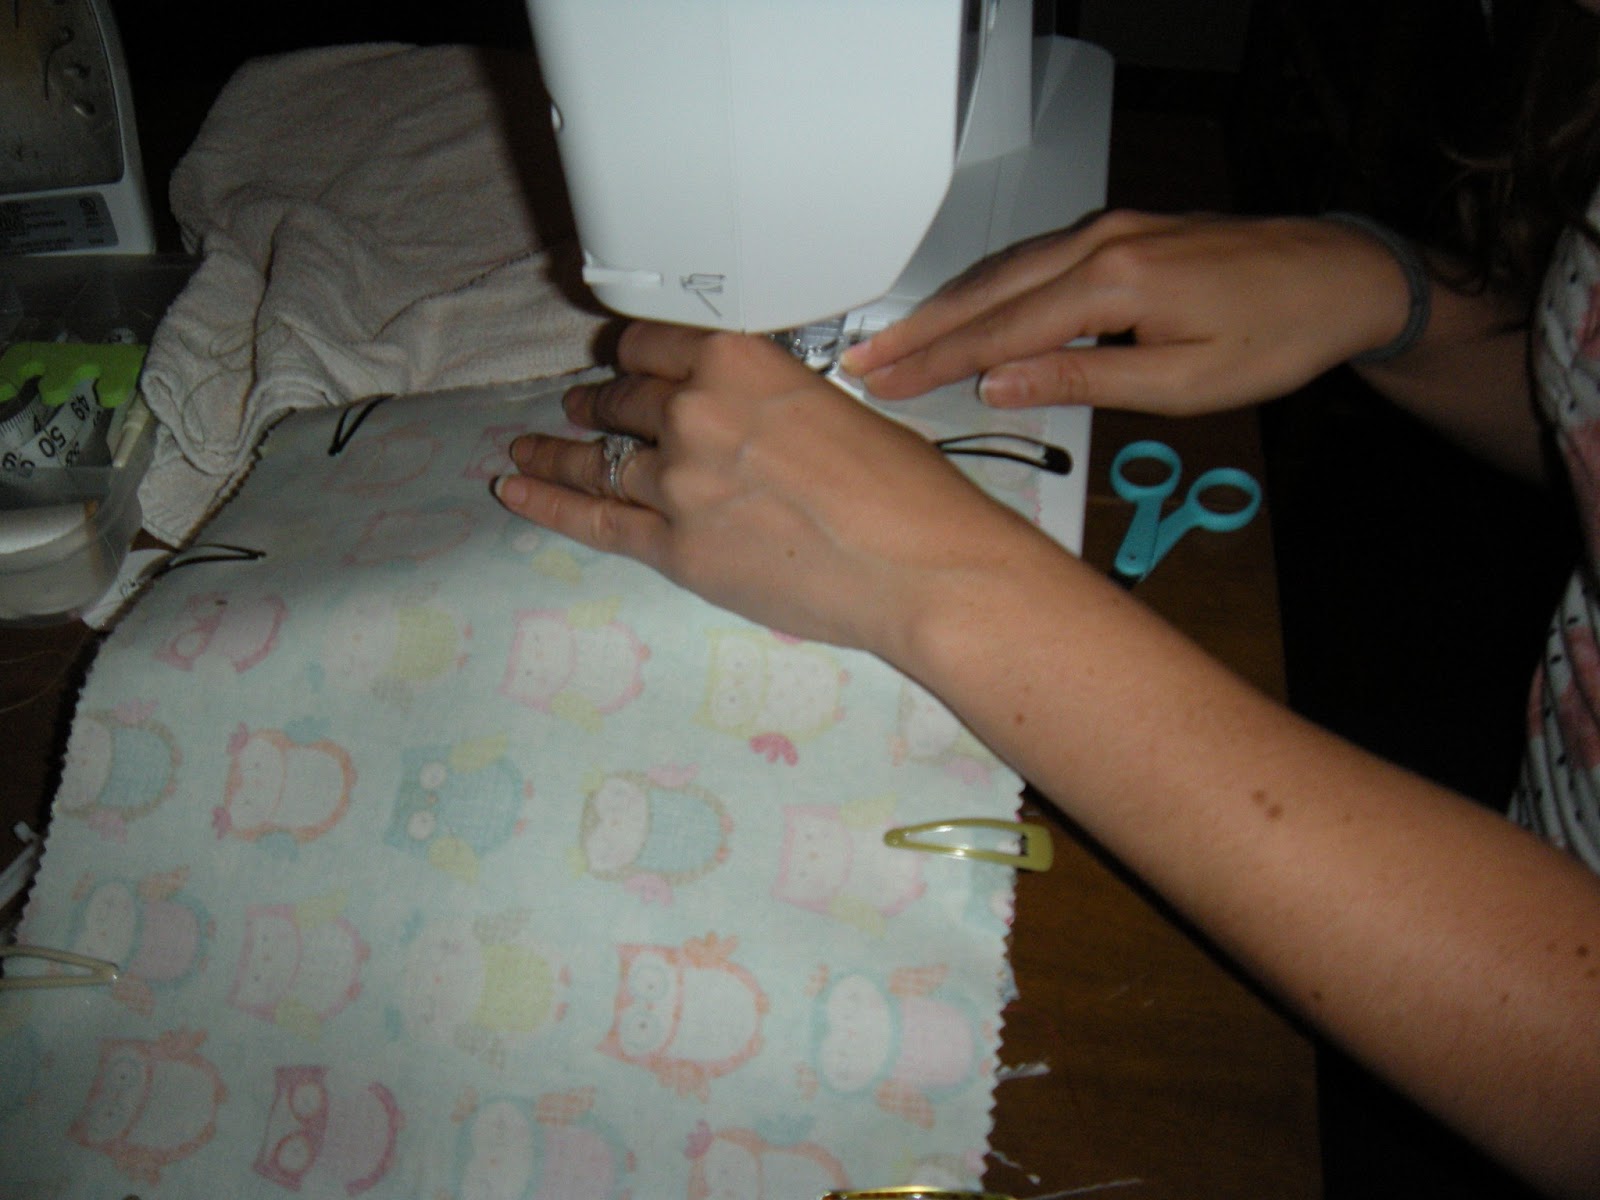

Step 4:  Sew the straps.  Right sides facing, stitch around the bottom hemmed edge and both long edges, leaving the top, raw cut edge open.  Flip right side out and top stitch all but raw edge.

Step 5:  Add elastic to the skirt.  You will need to add the ½ inch elastic to the top, raw cut edge of one piece of the skirt.  Place the elastic ½ inch down from the top, raw edge of the fabric. Stretch the elastic, to ensure that it will hold up your dress. 


Pin it down and use a zig-zag stitch to allow for stretch over the elastic.  Stitch down the elastic.  Fold down the raw edge over the elastic, and top stitch, creating a nice hem.

Step 6:  Sew the skirt.  Place the 2 skirt pieces, right sides facing, and stitch up each side, leaving both the top and bottom open.  You now have a skirt assembled.

Step 7:  Add elastic to the bodice.  Using your 1 inch elastic, add elastic ½ inch from the top of one long edge.  Fold fabric over the elastic and iron down, then pin.  Use a zig-zag stitch to secure the elastic to the fabric.

Step 8:  Attach back straps.  With the elastic side of the bodice facing you, fold over each short edge and iron down.  Add the raw edge of the strap to the raw edge of the folded over seam.  Make sure the straight edge of the strap matches up with the top of the bodice.  

Stitch down the entire length of the short side, securing the strap and making a hem on the side.  Use the same process on the other side.

Step 9:  Assemble the dress.  With the bodice top down and wrong side facing you, lay the front of the skirt over the bottom of the bodice.  Attach only to the front of the skirt and stitch down.  

The front of the skirt will be longer from side-to-side than the bodice.  Fix this by creating small darts while stitching the pieces together. Flip the dress right side out, and there you have it!  A cover-up all your own!  Enjoy!


Saturday, April 27, 2013

Travel Wallet: Tutorial & Project


Matt and I are going on a “One Year Anniversary Vacation.”  We’re heading to the Bahamas, and I thought I should make something wonderful to take along with me.  I keep thinking a bag, but that’s not all that unique and I wanted to make something special.  I set my mind on a travel wallet while perusing Pinterest.  I was so excited to make it that I got right to finding the most adorable fabric I could find.  See the pictures and directions below to make your own.  Also, check out this link http://www.spotlight.com.au/inspiration/projects/Travel-wallet/  to see how this lady made hers.  She had her measurements in metric,  I converted them (as closely as possible) to U.S. Standard.


Step 1:  Gather your supplies.  You will need the list below to complete this project.
·       13x11” piece of Fabric “A”
·       2 – 9x11” pieces of Fabric “A”
·       13x11” piece of Fabric “B”
·       7x6” piece of “Fabric “B”
·       8x7” piece of Fabric “B”
·       16.5x3.5” piece of Fabric “C”
·       6.75x2.75” piece of Fabric “C”
·       2 – 13x11” pieces of fusible interfacing
·       2 – 4.5x11” pieces of fusible interfacing
·       3.5x6” piece of fusible interfacing
·       4x7” piece of fusible interfacing
·       2 buttons
·       Coordinating thread

Step 2:  Prep the fabric big fabric pieces.  Each or your 13x11” fabric pieces must have the fusible interfacing attached to give it stability.  I did not have fusible interfacing, so I used some thin fusible webbing with a piece of embroidery stabilizer to create interfacing.

Step 3:  Prep your pockets.  Fold your 9x11” pieces in half, right sides facing to create a 4.5x11” piece.  Fuse your 4.5x11 pieces of interfacing to one side of the fabric.

Fold your 8x7” fabric, right sides facing into a 4x7” piece and fuse your 4x7” interfacing to one side of the fabric.

Fold your  7x6” fabric, right sides facing, into a 3.5x6” piece and fuse the 3.5x6” interfacing to one side of the fabric.

Step 4:  Sew the pockets.  Sew along one short side and both long sides of one of the 4.5x11” pockets.  Flip to facing right side out.  Top stitch along one long end of the pocket.

Fold the fabric down to a triangle on the other 4.5x11” pockets.  Stitch around both long ends and the folded triangle.

Cut the excess triangle fabric off to reduce bulk and flip right side out.  Stitch along the uneven edge and down the side using a top stitch.

Stitch along both long edges and one short edge of the 4x7” piece and flip right side out.  Top stitch one long edge.
Stitch along both long edges and one short edge of 3.5x6” piece.  Flip right side out and fold under open edge.  Top stitch to close of seam, continuing around the entire rectangle.

Step 5:  Make the coin purse.  Fold your 16.5x3.5” piece in half lengthwise with right sides facing.  Stitch along both long ends and one short end.  Flip right side.  Fold one edge upward 3” and top stitch around entire rectangle, creating a pouch.  Fold top edge down and iron to create a flap.

Step 6:  Create closure strap.  Using your 6.75x2.75” piece, fold lengthwise with right side facing and stitch around both long ends and one short end.  Flip right side out.  Fold short open ends under and stitch using a topstitch to secure the seam and create a pretty edge around the entire rectangle.

Step 7:  Create buttonholes.  Using your buttonhole foot, measure your button and mark where you want the button hole to go.  


We want the buttonholes on the flap of the coin purse and on one edge of the closure strap.  

Once the hole is stitched, slit down the center of the stitching to create and opening.

Step 8:  Assemble your pockets.  On the long 4.5x11” rectangular pocket,  attach your 3.5x 6” piece using a top stitch along both short ends and then halfway between the two stitches you just made.  Your credit cards will go in these slots.  

Below the credit card slots, attach your coin purse along the top stitched edges you have already created.  Be sure not to stitch down the flap of the coin purse.

Attach your 4x7” pocket to the other long pocket, stitching down both short sides.  

 I added another small credit card pocket to the top of the passport pocket, definitely do this if you don’t think you’ll have enough storage.  I plan on putting my I.D. here.

Step 9:  Assemble the wallet.  On your inner fabric, Place pockets on each end.  Place the strap on the right side, facing in toward the center of the fabric.  

Add the outside fabric to the top of the inside, right sides facing.  

Use barrettes or pins to hold pieces securely.  

Stitch around the entire edge, leaving a 3” opening.  

Flip the wallet right side out.  Iron it flat, then top stitch about .25 - .5 inches from the edge or the fabric.

Step 10:  Finish it up.  I decided to make a pretty little stitch down the center of the wallet.  Since I used adorable owl print, I used a decorative stitch that looked like little birdy foot prints.  

You’ll also need to add your buttons.  The button should be attached to your coin purse and to the outside of the wallet.  

Once this is down, look back and admire your work.  Also, enjoy your travels!!!