I found a cute little tutorial on Pinterest, but
sadly, no link to follow. I decided to
try the tutorial out sans tutorial. This
little bow-back shirt was so cute and I have way more T-shirts than I know what
to do with. The results: I have a cute new shirt and ideas on how to
make a better one next time. I’ll post
the instructions below along with my ideas for improvement.

Step 1: Get
your materials. You will need a T-shirt,
a self healing mat, a rotary cutter, a needle, and coordinating thread.

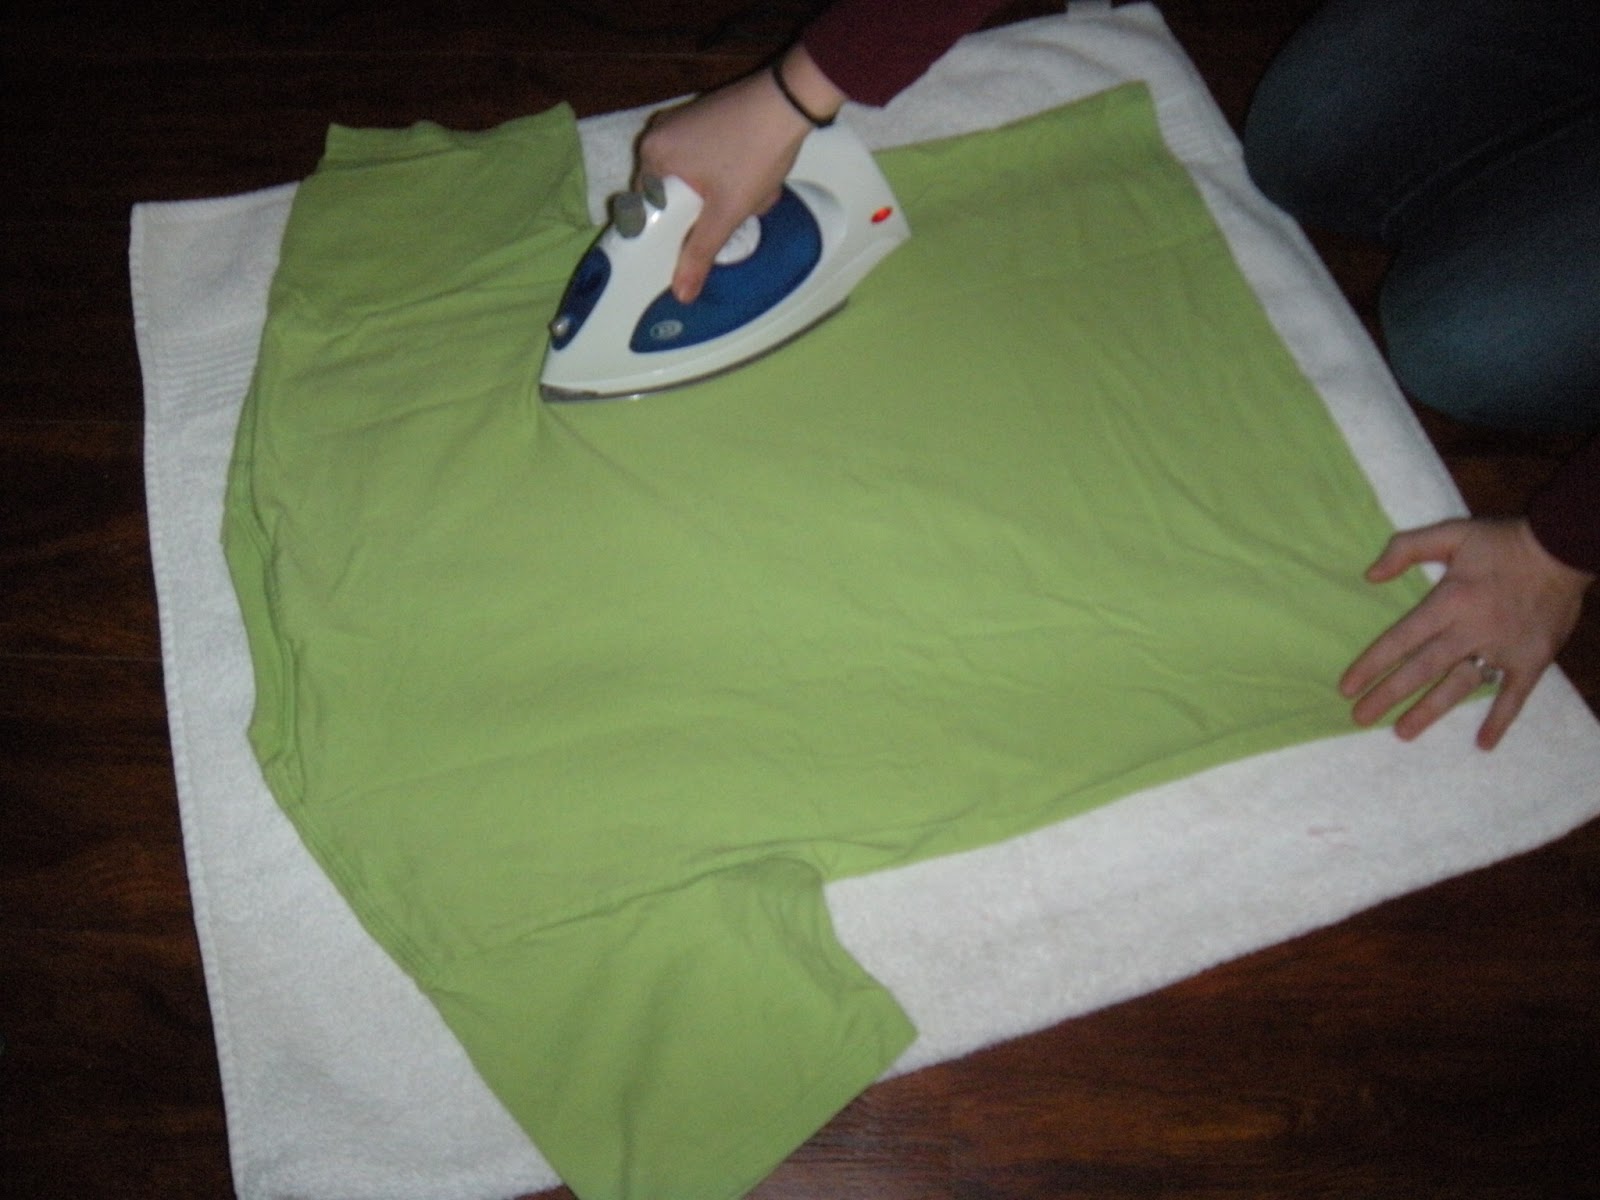
Step 2:
Iron. I ironed my t-shirt just to
ensure I made even cuts.
Step 3: The
first cut. Using the rotary cutter, and
a ruler should you have trouble cutting in a straight line, cut the bottom hem
off of your shirt.

Step 4: Cut out
the bows. I made the first cut about 6
inches from the top of the shirt. I
centered the cut and sliced across approximately 8 inches.

I measured four inches down from the first
cut and made the second one, measured down two inches and made the third to
start my next bow, and did this process twice more.


*This is where I would make a change: give yourself the two inches between
bows. Just cut four inches apart to give
yourself even bows.
Step 5: Make
your centers. Cut the bottom hem into 4
inch sections for each “bow”


Step 6: Make
your bows. Pinch together the center of
your big cut and wrap one of the center sections around it.


Sew together the ends of your center strip. I added a couple of security stitches on the
back side of the bow to keep the center in place.

Step 7: Cut out the middles. I didn't like how the bows looked with the strips in the center, so I cut them out. I tried to cut them out in a V-shape. The bows looked much better than they did with the little strips in between.

Now you’re finished and you have a super-cute
shirt. Should I make another one, I’ll
post it with results. Hope you enjoy!
No comments:
Post a Comment