What It's About

This is just a spot for me to put up new ideas, new creations, and little observations from my daily life.

Thursday, October 31, 2013

Homemade Apple Crisp - Recipe and Tutorial

          Now that it finally feels like fall in North Carolina, I decided to make one of my fall favorites… Apple Crisp.  There’s something about walking in to the smell of apples and cinnamon that just screams “Autumn!”  This recipe is not only easy, it’s delicious and sure to become one of your (or your family’s) favorites.  So get yourself to the farmers market, the orchard, or (if you’re like me) the grocery store to pick up some beautifully ripened apples to start this fall fave!
 

What you’ll need:

For the “filling”
·       5 medium apples *** I like using granny smith, one, because they are a late season apple, and two for their crispy tartness***
·       ¾ tsp ground cinnamon
·       ¼ cup brown sugar, lightly packed
·       1/3 cup butter, melted

For the “topping
*** By the way, I double the topping recipe because I absolutely love the extra crispiness.  Feel free to cut the ingredients below in half if you’d prefer a less crisp Apple Crisp***

·       1 ½ cup brown sugar, lightly packed
·       1 ½ tsp ground cinnamon
·       2/3 cup butter, melted
·       ¾ cup all-purpose flour
·       ¾ to 1 cup old-fashioned oats


                            *ignore the vanilla, I decided last-second to omit it

How to make it:
1.      Preheat your oven to 375o F.  Grease an 8” or 9” square or round glass baking dish.
2.     Core and slice your apples.  

      We have an awesome corer/slicer that is super fun to use for this part.  
Look at my handsome helper.  What an amazing husband!

      We also “skin” our apples and slice the apple slices even thinner to about ½ inch slivers.

3.     In a large mixing bowl, combine the cinnamon, brown sugar, and butter until well mixed.  
      

      Add the apples to this mixture and stir them up until they are lightly coated in the buttery sugary goodness. 
      

      Transfer them to the greased baking dish.

4.    Using the same bowl (for dishes and your sanity’s sake), mix together the brown sugar, butter and cinnamon for the topping until well combined.  Add the flour and ¾ cup of the oats.  Mix together until well blended.  If the mixture is too thin, add the rest of the oats.
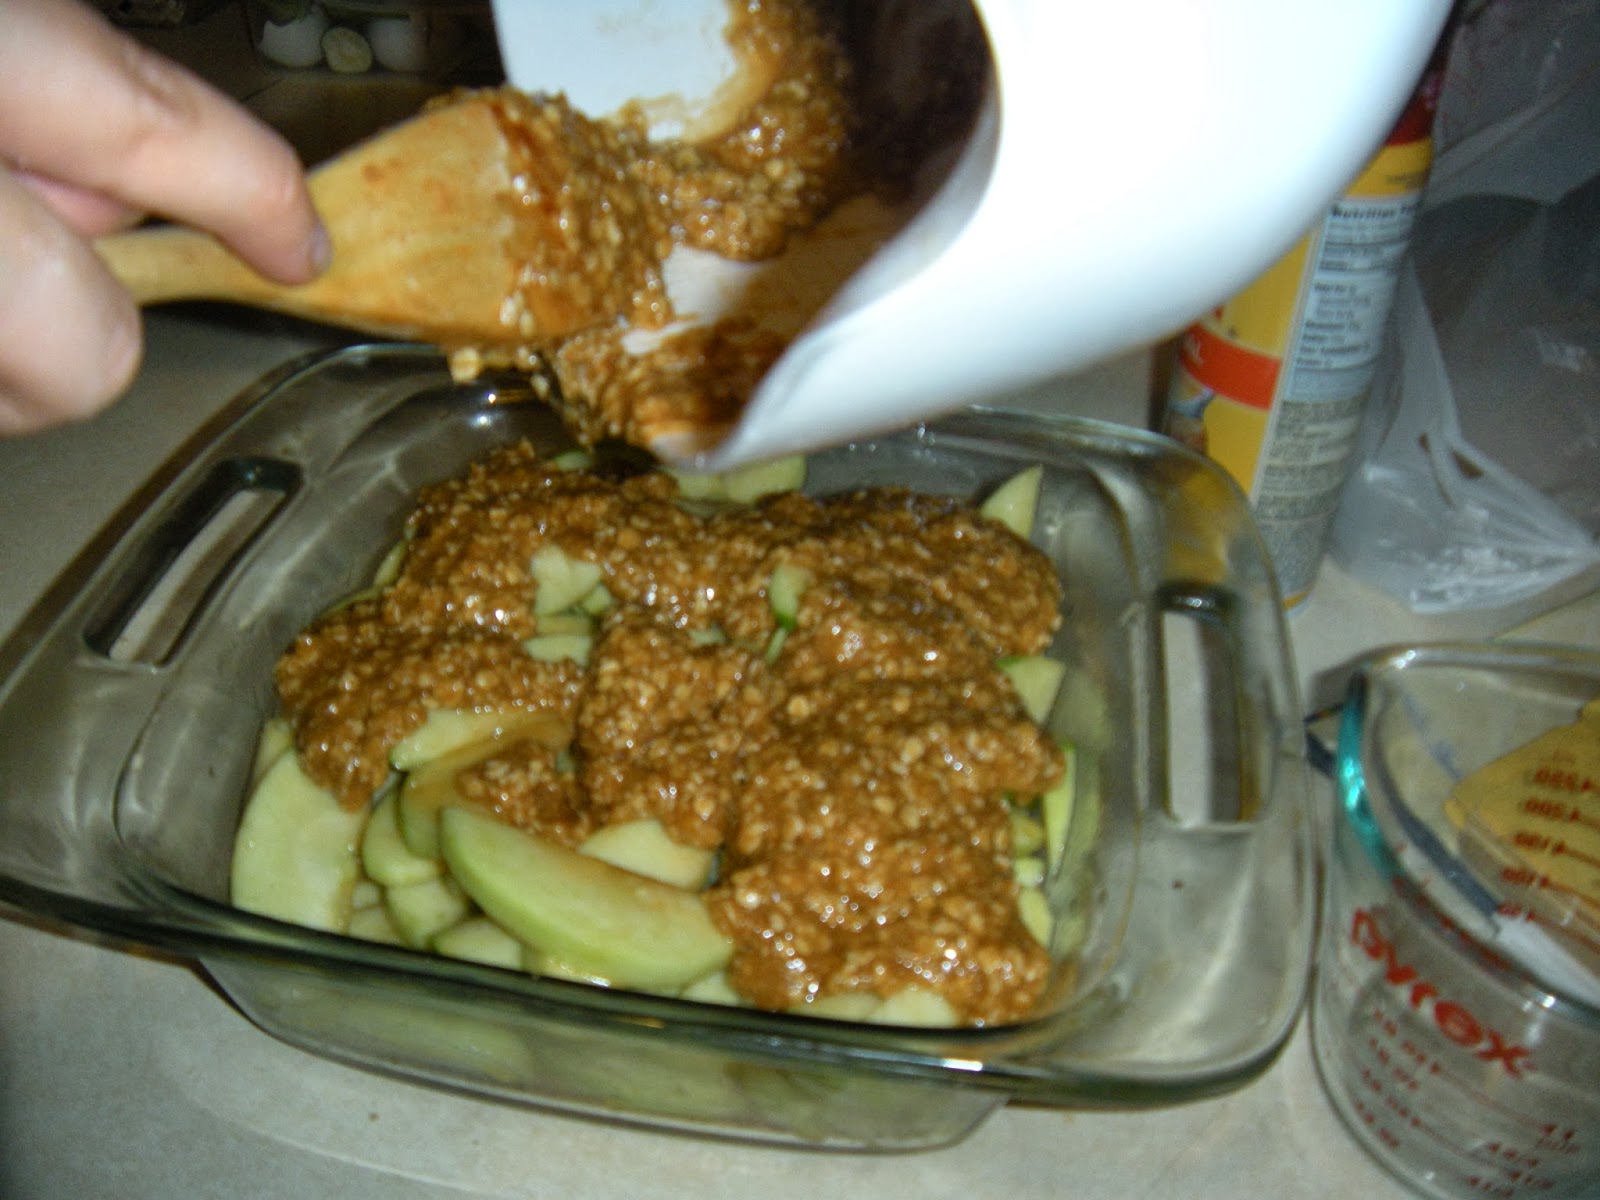
      

5.     Spoon the topping over the apples evenly.

6.     Place the baking dish (apples and all) to the preheated oven and bake for 30-35 minutes or until topping is golden brown and cooked throughout and apples are tender.

7.     Serve the apple crisp, once cooled slightly with vanilla bean ice cream.  Or not, serve it cold, sans à la mode, or with whatever it is you enjoy.


*** Great tip:  Apple Crisp makes great breakfast.  And don’t you feel guilty about it, after all, there’s healthy apples and oatmeal.  Don’t you eat those for breakfast anyway???

Sunday, October 27, 2013

Homemade Chocolate Chip Cookies - Recipe & Tutorial

          When weather gets colder, heating up the oven is my favorite thing to do.  Baking is such a stress relief, especially when it’s a recipe everyone knows and loves.  So, when my husband requested my homemade chocolate chip cookies I couldn’t turn him down.  This recipe is just wonderful.  You get a slightly crisp outside and the gooiest, chewiest, most delicious, chocolaty center.  And while it’s not recommended to eat, the cookie dough is to die for!  Now it’s your turn, heat up that oven, pull out the mixer and get to baking!  I promise this going to be one of your favorite recipes.


What you need:
1 cup (2 sticks) butter, softened
¾ cup granulated sugar
¾ cup light brown sugar, packed
1 tsp vanilla extract
2 eggs
2 ¼ cup flour
1 tsp baking soda
¼ tsp salt
1 package (11.5 oz) semi-sweet chocolate chips


Directions:
1.       Preheat your oven to 350oF.
2.     Beat the butter, sugar, brown sugar, and vanilla in a large bowl with a hand mixer until creamy.  Add the eggs and beat well. 

            *** An update (or side-note):  I've been asked why I use equal parts brown sugar and granulated sugar.  The reason for this is that it helps keep the cookies moist.  Most recipes call for 1 cup granulated sugar with 1/2 cup brown sugar.  You can use this if you are someone who likes a more crisp cookie.

3.     In a separate bowl, combine flour, baking soda, and salt.  Don’t worry about sifting the flour.  I always sift for cakes and breads, but not for cookies.  This works for me, but if you must sift, sift to your heart’s content.

4.    Slowly add the flour to the egg and sugar mixture, beating with a hand mixer.  Beat until well blended.

5.     Fold in chocolate chips.
6.     Drop cookies by the tablespoonful (or larger) onto a greased cookie sheet.  Bake for 8-10 minutes or until edges begin to look golden brown.
             *** Another note:  I used two different types of pans, the dark nonstick in the picture below and a shiny aluminum pan.  The dark nonstick yielded fluffier, thicker cookies while the aluminum pan made thinner, more largely spread cookies.

7.     Let cool for a couple of minutes on the cookie sheet then transfer to cooling rack until entirely cool.
8.     Store cookies in an airtight container.  This will help keep the cookies moist and delicious. 
9.   As always, enjoy!